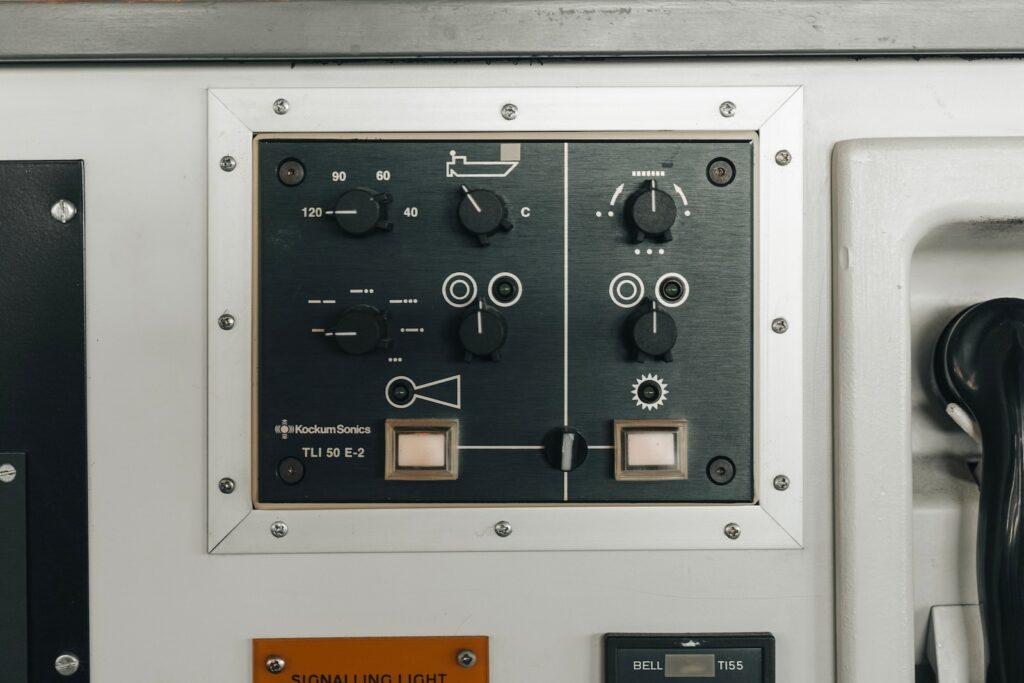
How To Wire A Rocker Switch In A Boat
Key Takeaways:
- Understanding the Process: Wiring a rocker switch in a boat involves identifying the terminals, connecting the power, load, and ground wires, and checking your work. This may seem daunting initially, especially if you are not familiar with the electrical side of things, but with patience and guidance, the process is manageable. Always remember to use marine-grade wires, which are suitable for the harsh marine environment.
- Various Reasons to Wire a Rocker Switch: There could be several reasons to wire a rocker switch in a boat. You might be installing new equipment like navigation lights or a bilge pump, replacing a faulty switch, upgrading to LED indicators, or improving the aesthetics and uniformity of the control panel. Regardless of the reason, the proper wiring of a rocker switch is crucial for the safe operation of your boat’s electrical equipment.
- Potential Errors: Mistakes can occur during the wiring process, such as wiring the switch backward, loose connections, using the wrong type of wire, or the switch not being capable of handling the power drawn by the device. These errors can lead to electrical failures or, in worst-case scenarios, an electrical fire. Hence, double-checking your work and ensuring the switch can handle the power drawn is essential for a successful and safe wiring process.
Get ready to channel your inner electrician because we’re diving into the world of rocker switches. These little guys may seem insignificant, but they play a vital role in controlling the various electrical components on your boat. They’re also quite straightforward to wire up if you’ve got the know-how. Whether you’re fixing a faulty switch or installing a new gizmo, I’m here to guide you through the process of wiring a rocker switch on your boat.
How To Wire A Rocker Switch In A Boat
Wiring a rocker switch on your boat might seem like a daunting task, especially if you’re not particularly familiar with the electric side of things. With a bit of patience and the right guidance (ahem, that’s where I come in), you’ll have your boat’s electric gadgets responding to your every command in no time.
- Identify the Terminals: Know what you’re dealing with. A typical rocker switch has three terminals — one for the power source, one for the device you’re controlling, and one for the ground. These are usually labeled as ‘power’ (or P), ‘load’ (or L), and ‘ground’ (or G), respectively.
- Connect the Power Wire: Grab a piece of marine-grade wire and connect one end to the power source (such as your boat’s battery or a power distribution block) and the other end to the power terminal on the switch. To ensure a secure connection, you might want to use a crimp connector or solder the wire to the terminal.
- Connect the Load Wire: Connect the device you’re controlling (like a light or a pump) to the switch. Again, use a piece of marine-grade wire and connect one end to the device and the other end to the load terminal on the switch.
- Connect the Ground Wire: Connect a wire from the ground terminal on the switch to a suitable grounding point on your boat. This could be a ground bus bar or any other metal part of the boat that’s connected to the negative side of the battery.
- Check Your Work: If the device turns on and off as it should, you’ve successfully wired your rocker switch. If not, don’t panic! Double-check your connections and make sure everything’s hooked up correctly.
We have also found this video on Youtube, maybe also helpful:
Wiring a rocker switch in a boat requires the use of basic electrical tools and supplies. Start by connecting the power supply to the switch, typically a wire from the battery to the “on” position of the switch. Then run a wire from the “off” position of the switch to the item being powered, such as a bilge pump. Secure the connections with wire nuts and electrical tape. Make sure all of the connections are secure and safe before testing the switch.
It can be a challenging task, but with the right tools and supplies, it can be done. Here are the steps you’ll need to take in order to wire a rocker switch in a boat:
Gather Your Supplies
Gather all of the necessary supplies. You’ll need a wiring harness, a rocker switch, and any other necessary tools and supplies. Additionally, you’ll need a wiring diagram for your specific application. This will help ensure that you wire the switch correctly.
Prepare The Wiring Harness
Prepare the wiring harness. You’ll need to cut the wires to the appropriate length and strip the insulation off the ends. You’ll also need to attach the appropriate connectors to the ends of the wires.
Install The Rocker Switch
Find an appropriate location for the switch and then secure it in place. Once the switch is in place, you can connect the wires to the switch.
Connect The Wiring To The Switch
Connect the wiring to the switch. You’ll need to match the colors of the wires to the appropriate terminals on the switch. Once the wires are connected, you can secure them in place with a cable tie or other appropriate fastener.
Test The Connections
This can be done by turning the switch on and off to make sure it’s working properly. It’s also important to double-check all of the connections to make sure that everything is secure.

Why Would You Need To Wire A Rocker Switch In A Boat?
There are many reasons why someone might need to wire a rocker switch in their boat. One of the most common reasons is to control the bilge pump. The bilge pump is an essential piece of equipment on any boat, as it helps to keep the boat free of water. Rocker switches are often used to control navigation lights and other electrical equipment.
- Adding New Equipment: Perhaps you’ve decided to upgrade your boat with a new gadget or appliance. That fancy new spotlight or high-tech fish finder is going to need a way to turn on and off, right? That’s where a rocker switch comes in handy.
- Replacing Faulty Switches: Electrical components can wear out over time, and rocker switches are no exception. If you find a device on your boat isn’t working and you’ve ruled out other issues, the switch might be the culprit. Time to roll up your sleeves and wire a new one.
- Upgrading to LED Indicators: Some rocker switches come with built-in LED indicators which can be really useful, especially when boating at night. If your current switches don’t have this feature, you might want to replace them with ones that do.
- Aesthetics and Uniformity: It might be a minor reason, but hey, we all want our boats to look their best. Maybe you’ve noticed that your current switches are looking a bit dated, or they don’t match. Swapping them out for new ones can give your control panel a fresh, unified look.
It is a relatively simple device that is used to control the flow of electricity in a circuit. It is typically found in electrical appliances and devices such as light switches, fans, and other items. It is also used in boats to control items such as the bilge pump, navigation lights, and other equipment.
How to wire multiple boat lights to one switch
Start by connecting the switch to the fuse box with the 12-gauge wire. Use the wire cutter/stripper to strip away the ends of the wire and make sure they are properly secured to the switch. Attach the lights to the switch using the appropriate size wire. Each light should be securely attached and that none of the wires are exposed. Connect the positive and negative terminals of each light to the same power source.
Use the voltage tester to make sure that the lights are receiving the correct amount of power. If all is good, it’s time to secure the connections with electrical tape. Make sure that all the connections are secure and that no wires are exposed, as this could create a fire hazard. It is important to use best led boat lights just to make sure that everything last as long as it can.
How to wire a boat switch panel

If your boat does not have a main power source, you will need to connect a battery to the main power source. Once the power source is connected, you can begin wiring the switch panel.
- Plan Your Layout: Before you dive in, take some time to plan where your switch panel will go and what devices it’ll control. Remember, you’ll need easy access to the panel when you’re using your boat.
- Buy a Pre-made Panel or DIY: You can either buy a pre-made switch panel or make your own. Pre-made panels come in various configurations, or you can customize a blank panel with your own switches.
- Disconnect Power: Always disconnect your boat’s battery or power source before working on any electrical components.
- Mount the Panel: Use a template to mark where the panel will go, then drill the necessary holes. Secure your panel using the provided hardware.
- Wire the Switches: Each switch in your panel will have at least two terminals: one for power (from the battery) and one for the load (the device it controls). Some switches will have a third terminal for ground. Wire each switch to its corresponding device, ensuring the connections are secure.
- Connect to Power: Connect the power terminal of each switch to your boat’s power source. This is typically done with a power distribution block, which takes power from your battery and distributes it to each of your switches.
- Connect to Ground: If your switches have a ground terminal, connect each one to a common grounding point on your boat.
Using a multi-meter, check the amperage reading to ensure that the correct amperage is being used for the switch panel. You will then need to attach the wires from the switch panel to the power source. It is important that the correct wire gauge is used for the switch panel, as using the wrong gauge could lead to a fire.
Once the wires are properly attached, use a terminal strip to connect the switch panel to the battery. Make sure the terminal strip is securely attached to the battery and that the terminal strip is rated for the switch panel.
What Can Go Wrong When You Wire A Rocker Switch In A Boat
A classic misstep is wiring the switch backward. Yeah, it sounds silly, but mix up those terminals and suddenly you’re wondering why nothing’s happening when you flip the switch. And if it’s a two-way switch, you might just find your gadget turning on when it should be off, and vice versa. It’s a head-scratcher, I know.
Another hiccup could be a loose connection. Those wires need to be snug and secure. If not, you might find the switch works intermittently, or worse, not at all. And let’s not forget about using the wrong type of wire. Always, always use marine-grade wire. If you use something not suited to the harsh marine environment, you’re just asking for trouble down the line.
Now here’s one that not many people think about – the switch itself might not be up to the task. If you’re hooking up a device that draws more power than the switch can handle, it’s bad news. You’re looking at a potential electrical failure, or in a worst-case scenario, an electrical fire.
FAQs
What does a rocker switch do on a boat?
A rocker switch is a type of on/off switch that rocks back and forth, hence the name. On a boat, you’ll find them controlling various equipment like your navigation lights, bilge pump, or even your radio. When you rock the switch one way, the device turns on, and when you rock it the other way, the device turns off.
What kind of wire should I use to wire a rocker switch on my boat?
When wiring a rocker switch, or any electrical component on your boat, it’s crucial to use marine-grade wire. This type of wire is designed to withstand the harsh marine environment and resist corrosion, which is essential for safety and reliability.
I wired my rocker switch, but it’s not working. What could be wrong?
If you’ve wired your switch and it’s not working, start by double-checking your connections. Make sure the wires are securely connected and in the right terminals. If everything seems fine there, check the fuse for the circuit. If it’s blown, you’ll need to replace it.
Conclusion
Wiring a rocker switch in a boat can be a challenging task, but with the right tools and supplies, it can be done. It’s important to take the necessary precautions and to test the connections before putting the boat in the water. With the right steps and supplies, wiring a rocker switch in a boat can be a relatively straightforward task.

