
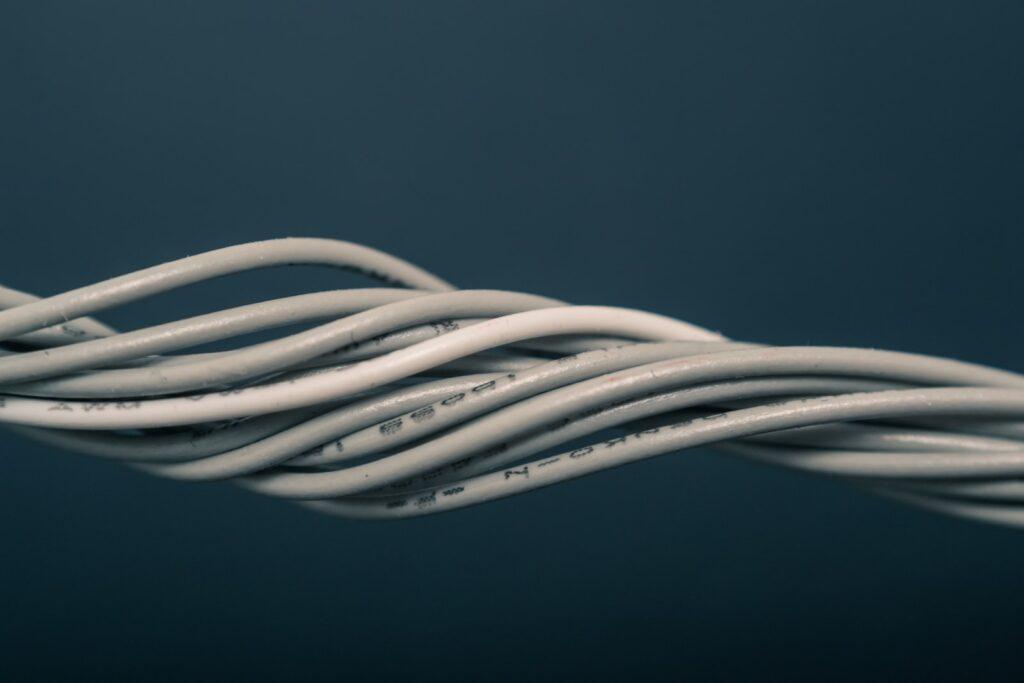
How To Find A Short In Boat Wiring
A short circuit occurs when electricity bypasses its intended path, leading to issues like blown fuses, tripped circuit breakers, malfunctioning equipment, or in severe cases, potential fire hazards. In this guide, we will take you through the steps of locating a short circuit in your boat’s wiring system safely and effectively.
Key Takeaways:
- Begin with a thorough visual inspection of the wiring. Look for any visible damage, wear, or signs of burning. Examine connections, terminals, and wiring routes for exposed or damaged areas.
- Employ a multimeter set to the continuity or resistance setting. Test the resistance between the positive and negative sides of the circuits. Sudden drops in resistance or readings of zero indicate a short circuit.
- Trace the wiring following the boat’s wiring diagram. Isolate different circuits by disconnecting components one at a time. This method helps identify the specific circuit causing the short.
How To Find A Short In Boat Wiring
A short in boat wiring can be dangerous and can cause a fire. To find the source of a short in boat wiring, the following steps should be taken:
- Safety Precautions: Always disconnect the power source before working on your boat’s electrical system to avoid the risk of shock. Wear safety gear such as gloves and safety glasses.
- Identify the Symptoms: A short circuit in a boat can result in various symptoms like a blown fuse, a tripped circuit breaker, or a device that’s not working properly. If a particular circuit is having issues, that’s a good place to start.
- Refer to the Wiring Diagram: If you have a wiring diagram of your boat, this will greatly help in understanding which wires run where, especially for more complex systems.
- Isolate the Problem Area: Disconnect all devices on the problematic circuit to ensure they are not the cause of the short. Once you are sure the short is in the wiring, reconnect the devices one by one until the short reappears. This can help narrow down the area where the short is occurring.
- Use a Multimeter: Set your multimeter to the continuity setting (which often includes a symbol like a sound wave). Connect one probe to the wire you’re testing at the load end, and the other probe to the ground (like the negative battery terminal). If the multimeter beeps or shows zero resistance, it indicates a short circuit. You can then trace this wire back to find where it’s shorting out. Look for signs of damage, chafing, or areas where the wire could be pinched.
- Fix the Short: Once located, fix the short by repairing or replacing the damaged wire. After the repair, recheck with your multimeter to confirm the short is gone.
Remember, if you’re uncomfortable working with your boat’s electrical system, or if the system is large and complex, it may be best to hire a professional. Electrical systems can be dangerous if not handled properly.

Use a multimeter to test for continuity between the positive and negative wires, which will indicate if there is an electrical short. Check for any loose connections, which could cause the circuit to short out. If needed, track the wiring from the battery to the accessory and inspect each connection for any signs of corrosion or damage.
How to Trace Boat Wiring
Tracing boat wiring can be essential for diagnosing electrical issues or preparing for an upgrade. Here are some basic steps you can follow to trace your boat’s wiring:
Materials Needed:
- Multimeter or a voltage tester
- Wire Tracer or Toner Tool
- Boat’s wiring diagram (if available)
- Protective gear (gloves, safety glasses)
Procedure:
- Safety First: Disconnect the power source before working on any electrical systems to prevent electric shock.
- Understand the Layout: If available, review your boat’s wiring diagram. This gives you a general understanding of how the system is laid out, which can make tracing wires much easier.
- Identify the Wire: Find the wire you want to trace. This could be a wire leading to a device that is malfunctioning or one that you want to replace.
- Use a Wire Tracer: A wire tracer or toner tool is very helpful in tracing a wire through your boat. Connect the tool to the wire, and it will transmit a signal along the wire. Then, follow the wire, using the tool’s receiver to pick up the signal and trace the wire’s path.
- Test the Wire: Once you’ve traced the wire to its source or destination, you can confirm that it’s the correct wire by testing it with a multimeter or voltage tester. Be sure to reconnect the power temporarily if necessary for this test, but always prioritize safety.
- Label the Wires: As you trace and identify the wires, consider labeling them for future reference.
Remember, when dealing with electrical systems, safety should be your top priority. If you’re not comfortable or familiar with electrical systems, it’s best to consult a professional.
Tools Needed To Find A Short
Before attempting to locate a short in your boat wiring, it is important to make sure you have the right tools. You will need a multimeter, a pair of insulated pliers, a flashlight, and a wire stripper. Additionally, you may wish to have a circuit tester, an extension cord, and a voltmeter on hand.
- Multimeter – This is an electrical testing device that can measure voltage, current, and resistance. It is essential for diagnosing a short circuit.
- Voltage Tester – This is a special type of tester that can detect the presence of a current without having to make physical contact with the wires.
- Wire Strippers – This tool is used to strip the insulation from the wire so it can be tested.
- Screwdrivers – These are used to loosen and tighten screws and nuts.
- Safety Glasses – It is important to always wear safety glasses when working with electrical wires.
To effectively find a short in boat wiring, you’ll require several specific tools. A multimeter is an essential tool that helps you measure voltage, continuity, and resistance, which aids in identifying the location of a short. A multimeter with a continuity tester is particularly handy for this task. Another useful tool is a wire tracer or toner tool. It sends a signal along the wire, which can then be detected by the tool’s receiver, helping you trace the path of the wire through your boat. Safety gear, like gloves and safety glasses, is also essential to protect you while working with electrical systems.
Steps To Find A Short
You should start by making sure that all the connectors are secured properly and that the wiring is not damaged in any way. Next, use a multimeter to check for continuity in the wiring. If there is a break in the circuit, then you will need to trace the wiring back to the source of the break and repair or replace the damaged wiring. Check the fuses and circuit breaker to make sure there are no shorts in the system.
The following steps will guide you through the process.
- Locate The Wiring
The first step is to locate the wiring. If you are familiar with the wiring in your boat, you may be able to identify the area where a short may have occurred. If not, you may need to trace the wiring from the breaker box to the devices it supplies. - Check The Wiring For Damage
Once you have identified the wiring, inspect it for any signs of damage. Look for any frayed or worn wires, as well as any wires that may have come loose. If you find any signs of damage, you may need to replace the wiring. - Use A Multimeter To Test The Wiring
Once you have identified any damaged wiring, it’s time to use a multimeter to test the wiring. Set the multimeter to measure the resistance and connect the leads to the wiring. If the reading is higher than normal, it indicates a short. - Check The Connections
If a short is detected, you will need to inspect the connections. Look for any loose or corroded connections, as well as any that may have been wired incorrectly. Tighten any loose connections and replace any corroded ones. - Check The Fuses
If the connections appear to be in good condition, you will need to check the fuses. Check the fuse box to ensure that the fuse is the correct size and type. If it is, replace it with a new fuse. - Use An Extension Cord
If the fuse is not the problem, you may need to use an extension cord to bypass the circuit. Connect one end of the extension cord to the breaker box and the other end to the device that is experiencing the short. This will allow you to test the wiring without risking electrocution. - Use A Voltmeter
If the extension cord does not fix the problem, you will need to use a voltmeter to test the wiring. Connect the leads of the voltmeter to the wiring and measure the voltage. If the voltage is too high, it indicates a short. - Replace The Wiring
Use the correct type and size of wiring, and follow the manufacturer’s instructions. Once the wiring is replaced, test it with a multimeter to ensure that it is functioning properly.
A wiring diagram of your boat can be a great asset in understanding how the wires run throughout the vessel, especially for more complex electrical systems. Use it to familiarize yourself with the route of the wires associated with the problematic circuit.
Using a Circuit Tester
A circuit tester is another tool you can use to test for a short in boat wiring. The circuit tester is designed to identify shorts in a circuit. To use the circuit tester, you will need to connect one end of the tester to the positive wire and the other end to the negative wire. If a short circuit is present, the tester will light up.
Using a Voltage Meter
A voltage meter is another tool you can use to test for a short in boat wiring. The voltage meter is designed to measure the voltage in a circuit. To use the voltage meter, you will need to connect one end of the meter to the positive wire and the other end to the negative wire. If there is a short circuit present, the voltage meter will read zero volts.
Using a Continuity Tester
The continuity tester is another tool you can use to identify a short in boat wiring. To use the continuity tester, you will need to connect one end of the tester to the positive wire and the other end to the negative wire. If the circuit is complete, the tester will light up.
Safety Precautions
Before you begin your search for a short in boat wiring, there are a few safety precautions you should take.
- Always make sure the boat’s power is switched off before you begin working.
- Never work on the wiring if you are wet or standing in water.
- Wear insulated shoes and gloves to protect yourself from shocks.
- Make sure all tools are properly insulated.
- Never work on live wires.
You need to identify the symptoms of the short circuit. This could manifest as a blown fuse, a tripped circuit breaker, or an appliance or device not functioning correctly. Pay attention to any issues that are specific to a particular circuit, as these can help guide you towards the source of the problem.
Identifying the Source of the Short

Once you have the necessary tools and safety gear, it’s time to start looking for the source of the short. You might begin by checking the wiring for any signs of corrosion or damage. Also, check for loose connections. If you find any, make sure to tighten them.
How do you find the ground fault on a boat
You’ll need to use an ohmmeter to check the resistance between the boat’s metal components and the ground. Start by disconnecting the battery and then use the ohmmeter to test the metal components and the ground. If the resistance is not close to 0 ohms, then you have found your ground fault. You should then identify the source of the fault and repair it before reconnecting the battery.
Also check our other articles about wiring:
Why Is It Important To Find A Short
A short in your boat wiring can cause serious damage to the boat and its systems. If left unchecked, a short can cause a fire, leading to loss of life and property. Additionally, shorts can cause electrical equipment to malfunction, leading to costly repairs. For these reasons, it is important to locate and repair any shorts in your boat’s wiring as soon as they are discovered.
What are the common signs of a short circuit in boat wiring?
Some common signs of a short circuit in boat wiring include frequently blown fuses, tripped circuit breakers, lights that flicker or don’t work, and devices or appliances that don’t function properly or at all. In extreme cases, you might notice a burning smell, which could indicate a wire overheating due to a short.
What causes a short circuit in boat wiring?
A short circuit occurs when electricity deviates from its intended path. In boat wiring, this could be caused by damaged insulation allowing wires to touch each other or the boat’s metal parts, loose connections, corroded wires, or faulty devices.
What should I do if I can’t locate the short circuit in my boat’s wiring?
If you’ve tried to find the short circuit but had no luck, or if you’re uncomfortable working with your boat’s electrical system, it may be best to hire a professional
Conclusion
Finding and repairing a short in boat wiring can be a daunting task. By following the steps outlined above, however, you can locate and repair a short in your wiring with relative ease. Remember to use the appropriate tools and follow the manufacturer’s instructions, and your wiring will be safe and secure in no time.