
How to Mount Downriggers on a Fiberglass Boat
Key Takeaways:
- Before beginning the process of mounting a downrigger on your fiberglass boat, ensure you have all the necessary tools and materials. This includes the downrigger and its mounting base, drill with correct bit size, bolts, nuts, and washers, marine-grade sealant, a measuring tape, and a marker. Having the right tools and materials will ensure a smooth and efficient installation process.
- Precision is crucial when mounting downriggers. From choosing the appropriate location on your boat, to marking the drill points, drilling the holes, and attaching the mounting base and the downrigger, every step requires careful execution. Any errors can not only affect the performance of the downrigger but also potentially cause damage to your boat.
- After completing the installation, a thorough test is recommended before heading out for fishing. Checking the movement and security of the downrigger, ensuring nothing is obstructing it, and that the downrigger is securely attached to the mount are key to verifying the success of your installation. This step is essential to ensure the longevity and effectiveness of the downrigger and prevent any possible accidents or damages.
So, you’ve got your fancy fiberglass boat and a new set of downriggers ready to go? Fantastic! Now comes the part where you mount them properly. Don’t worry if it sounds complicated, because I’m here to break it down for you step by step. This guide will take you through the whole process of mounting downriggers on a fiberglass boat, from choosing the perfect spot to securing the setup. Let’s get started!
How to Mount Downriggers on a Fiberglass Boat
Mounting a downrigger on a fiberglass boat is a task that requires some know-how and attention to detail. By following these steps, you can effectively install downriggers and ensure they are sturdy and ready for your next fishing adventure.
Before we get into the nitty-gritty, let’s take a quick inventory check.
You’ll need the following items:
- Downrigger mounting base
- Downrigger (of course!)
- Drill with the correct bit size
- Bolts, nuts, and washers
- Marine grade sealant
- Measuring tape
Alright, got everything?
Check also video we have found on Youtube:
Here’s a step-by-step guide on how to mount downriggers on a fiberglass boat:
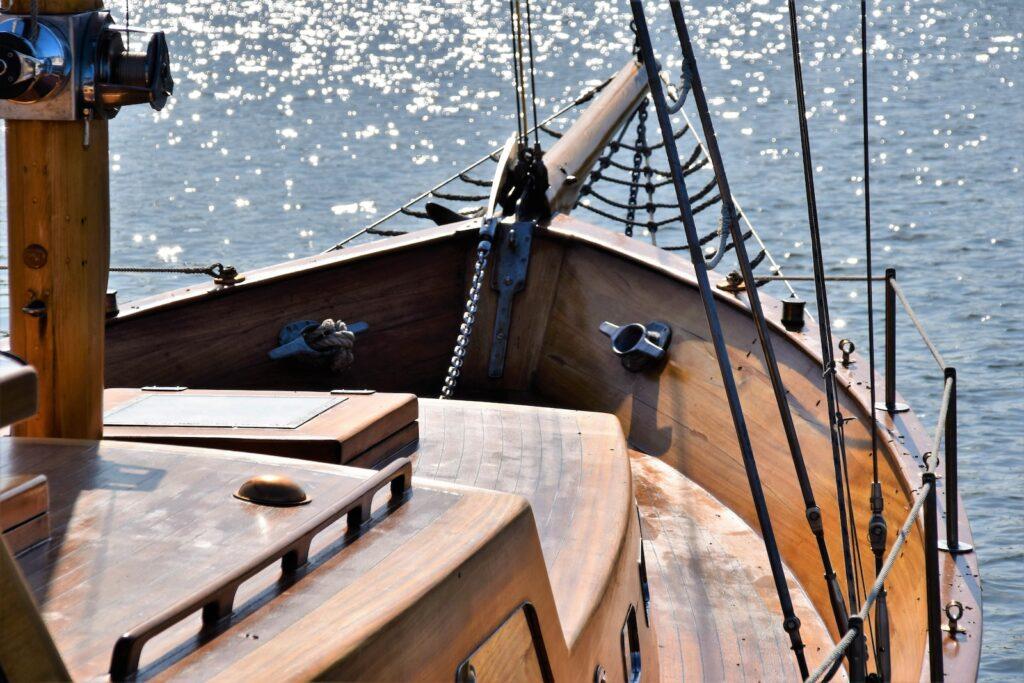
- Decide on the Location: The first step is to decide where you want to mount the downrigger. Common places are the transom or the gunwale. The best spot depends on your boat’s layout and your personal fishing style. Ensure that the area is flat and strong enough to handle the downrigger’s weight with a fish on the line. Also, check under the mounting area to ensure you won’t drill into anything important like wiring, tanks or equipment.
- Position the Mounting Base: Once you’ve selected the location, position the downrigger’s mounting base at the spot. Make sure it’s oriented correctly for the downrigger to function as you need it to.
- Mark the Drill Points: Using a marker, mark the drill points using the holes in the mounting base as a guide. Be precise with this step to ensure a good fit.
- Drill the Holes: Next, using a drill bit that matches the size of the bolts, drill the holes where you’ve marked. Remember, safety first! Wear protective eyewear while drilling to protect yourself from fiberglass dust.
- Apply Marine Sealant: Before installing the bolts, apply a marine-grade sealant to the holes. This sealant will prevent water from entering the drilled holes and causing damage to the fiberglass.
- Attach the Mounting Base: Now, align the mounting base with the drilled holes, insert the bolts, and add a washer and nut on the underside. Tighten the nuts but avoid over-tightening as this could crack the fiberglass.
- Install the Downrigger: Finally, you can install the downrigger into the base following the manufacturer’s instructions. Ensure that it’s secure and has full range of motion.
- Test the Installation: Before hitting the water, give your installation a thorough test. Check the movement and security of the downrigger. Make sure that nothing is obstructing it and that the downrigger itself is secure in the mount.
There you go! You’ve mounted a downrigger on your fiberglass boat. Now, let’s go catch some fish!
Before mounting the downrigger, it is important to make sure that you have all the necessary accessories and parts. This includes the mounting bracket, mounting bolts, and the downrigger itself. You should have the proper tools for drilling and bolting the downrigger to the boat. When drilling the holes for the mounting bolts, be sure to use the correct drill bit size that matches the bolts. If the holes are too large, the mounting bolts may not be able to secure the downrigger properly.
If You have more time check how to reinforce a fiberglass boat transom. Once everything is ready, it is essential to check the downrigger and make sure that it is properly secured to the boat. This will ensure that your downrigger will remain securely mounted and will not move or become damaged while in use. Its good to build it near rod locker so it will be convenient for You.
What You’ll Need
In order to mount downriggers on a fiberglass boat, you will need mounting brackets, bolts and nuts, washers, and a drill. Depending on the downrigger model, you may also need a cable cutout and a power source. It is important to use a backing plate to protect the fiberglass boat from any damage caused by the mounting hardware.
Before starting the process of mounting downriggers on a fiberglass boat, you will need the following items:
- Downrigger: The main component you’ll be mounting on your boat.
- Mounting base or bracket: The hardware that will secure the downrigger to the boat. Some downriggers come with this included, but if yours doesn’t, you’ll need to buy one.
- Drill: You’ll need this to create holes in the fiberglass for the mounting base or bracket.
- Drill bits: The size of the bits you’ll need will depend on the size of the bolts that came with your mounting base.
- Bolts, nuts, and washers: These will be used to secure the mounting base to the boat. They should be stainless steel to resist rusting and corrosion.
- Marine-grade sealant: To seal the drilled holes and protect your boat’s fiberglass hull.
- Marker: To mark the drill points on the hull.
- Measuring tape or ruler: To precisely measure and align the position of the downrigger.
- Wrench or ratchet: This will be used to tighten the nuts on the bolts.
Remember to keep all these tools and materials handy before you begin, and you’ll have a smoother, more efficient process.
You will also need to make sure that you have the necessary tools for the job, such as a drill, drill bits, a wrench set, and safety goggles. In addition, you will need a ruler or measuring tape to ensure that your mounting brackets are correctly aligned. It is important to take your time and be precise when measuring to avoid any unnecessary damage to your boat. Finally, you will need to make sure that you have the right type of rope or wire to securely attach the downriggers to the mounting brackets.
Steps to Mount Downriggers on a Fiberglass Boat
Start by deciding on the ideal location for the downrigger. It could be the transom or the gunwale, and the choice usually depends on the boat’s layout and your fishing style. The selected spot should be flat, sturdy, and free of obstructions underneath like wiring or equipment.
Place the downrigger’s mounting base on it. This orientation should align with the downrigger’s functionality and your ease of operation. Marking the drill points is critical here to be accurate to ensure a snug fit. You can use the holes in the mounting base as a guide, marking each point with a marker.
It’s time to drill the holes. Safety comes first, so remember to put on protective eyewear before starting. Using a drill bit that matches the size of the bolts, carefully drill the marked points. Apply a marine-grade sealant to the drilled holes. This step ensures the protection of your fiberglass from possible water damage.
With the holes drilled and sealed, it’s time to attach the mounting base. Align the base with the drilled holes, insert the bolts, and add a washer and nut on the underside. Tighten the nuts, but avoid over-tightening that could crack the fiberglass.
Attach the mounting plate to the boat with bolts and marine grade sealant. Make sure the mounting plate is properly secured and aligned. Once the mounting plate is in place, attach the downrigger to the mounting plate with screws and/or bolts. Attach any necessary wiring and electronics to the downrigger and you are ready to start fishing.
Choose a Location
The first step is to decide where you want to mount the downriggers. Ideally, you want to choose a spot that is easily accessible and away from any obstructions. You also want to make sure that the downriggers won’t interfere with any of the boat’s other equipment.
Mark the Spot
Once you’ve chosen the spot, you need to mark it. The best way to do this is to use a chalk line. Measure and mark the spot with the chalk line and make sure it’s level.
Drill the Holes
Now it’s time to drill the holes for the downrigger mounts. Make sure you use the correct drill bit for the type of downrigger mount you’re using. If you’re not sure, consult the manufacturer’s instructions.
Attach the Mounts
Once the holes have been drilled, it’s time to attach the mounts. Use screws or rivets to secure the mounts in place. Make sure the mounts are level and securely fastened.
Apply Sealant
To ensure a watertight seal, it’s a good idea to apply a marine sealant around the edges of the downrigger mounts. This will help prevent water from getting into the boat.
Attach the Downriggers
Once the mounts have been attached and the sealant has been applied, it’s time to attach the downriggers. Make sure the downriggers are securely attached to the mounts and double check to make sure they are level.
Test It Out
Before you take the boat out on the water, it’s important to test the downriggers. Make sure they are securely attached and that the line is running smoothly. You might want to check what size of motor is need for 16 foot fiberglass boat. Also check that the line is not too tight or too loose.
Take It for a Spin
Once you’ve tested the downriggers, you’re ready to take the boat out for a spin. Keep an eye on the downriggers and make sure they’re functioning properly.
Tips for Mounting Downriggers on a Fiberglass Boat
Mounting downriggers on a fiberglass boat can be a tricky job, but with a few tips it can be made easier. Make sure to use the right type of mounting hardware that is designed specifically for fiberglass boats. When drilling the holes into the fiberglass, be sure to use a drill bit that is designed to work with fiberglass, and not a regular metal bit. This will help to prevent cracking or damage to the fiberglass.
Use the Right Drill Bits
It’s important to use the right drill bits when drilling the holes for the mounts. If you use the wrong type of bit, it can cause damage to the fiberglass.
Use Stainless Steel Fasteners
To ensure a secure mounting, it’s best to use stainless steel fasteners. They are more durable and won’t corrode over time.
Use Marine Sealant
Using a marine sealant is a must when mounting downriggers on a fiberglass boat. This will help ensure a watertight seal and prevent water from getting into the boat.
Test It Before You Take It Out
Before you take the boat out on the water, it’s important to test the downriggers. Make sure they are securely attached and that the line is running smoothly.
How to attach metal brackets to fiberglass
Start by measuring and marking where you want your brackets to go. Precision is key here because you want your brackets to be level and evenly spaced.
Hold your bracket up to the fiberglass where you’ve made your marks, and using a marker, make marks through the bracket holes onto the fiberglass. This will give you a perfect guide on where to drill.
Use a drill with a bit slightly smaller than your screws or bolts to make holes at the marks you’ve drawn. Keep it steady — we want to avoid any chipping or splitting of the fiberglass.
Grab your marine-grade sealant and apply it to the holes you’ve just drilled. The sealant serves a double purpose — it prevents water from seeping into the fiberglass, which can lead to nasty issues like delamination and rot, and it also helps secure your bracket in place.
Is it safe to drill holes in a fiberglass boat to mount downriggers?
Yes, it’s safe to drill holes in a fiberglass boat to mount downriggers. However, caution is needed during the process. The drill bit should be the right size for the bolts, and the holes should be properly sealed with marine-grade sealant to prevent water damage.
Can the placement of downriggers affect the boat’s stability?
The placement of downriggers can impact a boat’s stability, particularly on smaller boats. It’s essential to mount them in a balanced way to prevent any potential tipping issues. If you’re installing multiple downriggers, ensure they are evenly distributed to maintain the boat’s stability.
What maintenance is required for downriggers mounted on a fiberglass boat?
Regular maintenance of downriggers on a fiberglass boat involves checking the mounting bolts for tightness and the cable for any signs of fraying or damage. Regular cleaning is also recommended, especially after saltwater use, to prevent rusting or corrosion.