
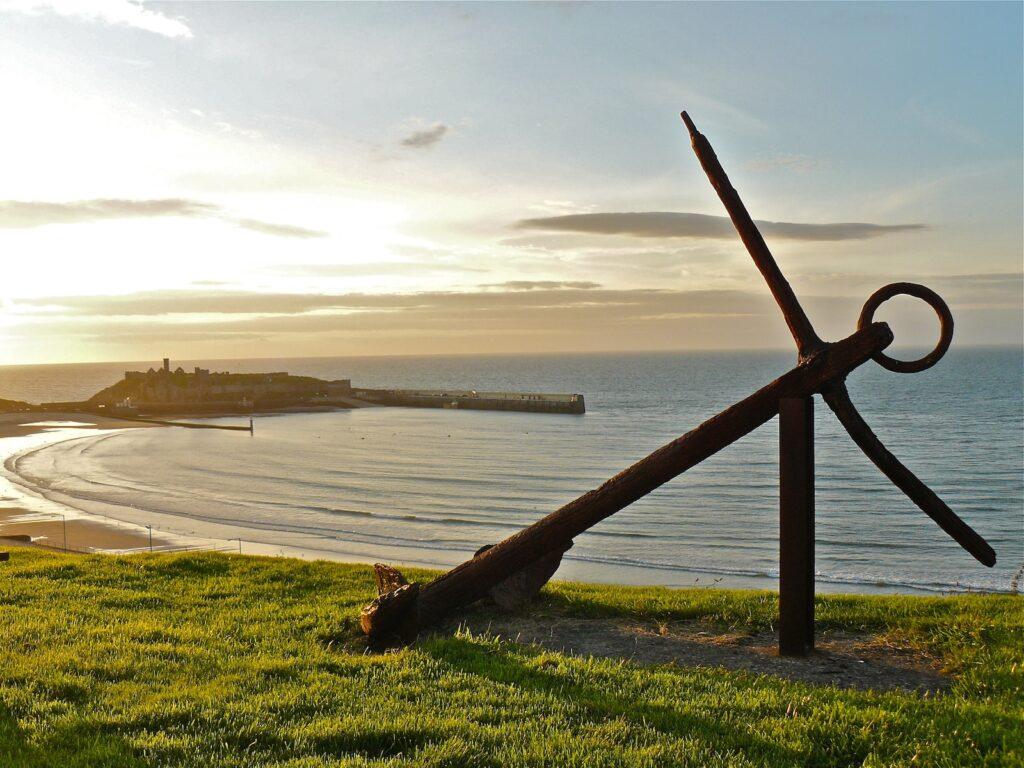
Can You Paint a Boat Anchor?
Key Takeaways:
- Before painting a boat anchor, it’s essential to thoroughly clean and prepare the surface. This usually involves removing rust, old paint, and any marine growth. Sandblasting or using a wire brush can be effective methods for this. Proper surface preparation ensures better paint adhesion and longevity.
- Selecting the appropriate paint type is vital for durability and effectiveness. Epoxy-based paints are often recommended for boat anchors due to their resistance to harsh marine environments. These paints provide excellent protection against corrosion, UV rays, and abrasion.
- Even with the best preparation and painting, a boat anchor will undergo wear and tear due to its harsh operating conditions. Regular inspections and touch-ups are necessary to maintain the protective coating. This not only keeps the anchor looking good but also extends its lifespan by preventing rust and corrosion.
You wonder, “Can I paint this thing?” Well, my friend, you’re in luck. The answer is a resounding yes! You absolutely can (and perhaps should) paint your boat anchor, not just to give it a fresh look, but also to protect it from the harsh marine elements.
Can You Paint a Boat Anchor?
Painting a boat anchor isn’t just a great way to add a personal touch to your vessel, but it also comes with some pretty practical benefits.
Think about it. Your anchor spends a lot of time submerged in water, fighting off rust, and dealing with whatever else the ocean decides to throw its way. A good coat of paint can act like a suit of armor, protecting your anchor from rust and corrosion, extending its lifespan, and keeping it looking spick and span.
- Rust Prevention: A coat of paint can prevent your anchor from rusting, especially if it’s made of iron or steel. Rust can weaken the anchor over time, so this is pretty crucial.
- Corrosion Protection: If you’re often in saltwater, corrosion can be a serious issue. Paint can create a barrier that protects the metal of your anchor from the corrosive effects of salt.
- Visibility: Ever tried to find a dropped anchor in murky water? Not fun. Painting your anchor a bright color can make it easier to spot.
- Personalization: Your boat is your pride and joy, so why not have an anchor that matches? Painting your anchor can be a fun way to personalize your boat.
- Detecting Damage: If your painted anchor starts showing signs of chipping or flaking, it could indicate damage or wear, alerting you to check its condition.
- UV Protection: Yep, even anchors need some sun protection. Certain paints can help protect your anchor from the harmful effects of UV rays.
Plus, let’s be real, a brightly painted anchor can be easier to spot, especially if you accidentally drop it overboard without securing it to the boat.
We have found this video on Youtube which might be helpful:
Think of it as giving your anchor its own personal suit of armor. Not only does this armor give the anchor a longer, healthier life, but it also gives you the opportunity to add a bit of personal flair to your boat equipment.
Besides its role as protector, paint also brings a bonus feature to the table: visibility. Should you ever have one of those “Oops, didn’t tie the anchor securely” moments, a brightly painted anchor is much easier to spot and recover.
How to Pain the Anchor?
Here’s how you can turn your anchor into a work of art, and remember, just like with a fun evening out, it’s all about the layering.
- First, get your hands on a good quality primer. This will help the paint adhere to the anchor better. Apply a coat of primer to the entire anchor. It’s like giving your anchor a mini spa day, but instead of a mud bath, it’s primer. Make sure to let it dry completely before moving on.
- Now comes the fun part – color! Apply the first coat of marine-grade paint. Always remember: multiple thin layers are better than one thick one. It might take a bit more time, but the finish will be smoother and last longer.
- Once the first coat is completely dry (and I mean Sahara Desert dry), you can apply the second coat. Be patient and make sure each layer is dry before applying the next one.
Your anchor is looking amazing now, but we’re not quite done. For the final step, we’re going to seal all that color in with a clear, marine-grade topcoat. This is like the invisible shield that’s going to protect all your hard work from the harsh marine environment. Apply the topcoat and wait for it to dry completely.
(And one quick tip: While painting, it’s best to work in a well-ventilated area and protect your eyes and skin. You want to be admiring your work from the deck of your boat, not from the waiting room of the local clinic!)
The Anchor: More Than Just a Weight
While it might be tempting to grab whatever’s left over from your last DIY project, you’ve gotta resist the urge. Your anchor needs a paint that’s tough, one that can stand up to saltwater, sunshine, and all sorts of weather conditions. Marine paint, my friend, is what you’re after. Specifically, you’ll want to use an anti-corrosive, marine-grade primer and paint.
When it comes to color, you might want to think bright. As I mentioned earlier, a brightly painted anchor is easier to spot if it goes overboard. Safety yellow, hot pink, electric blue, you name it! Choose a color that’ll stand out against the water.
Lastly, don’t skip the prep work. It might be a pain, but trust me, it’s worth it. Clean your anchor thoroughly and use sandpaper to create a rough surface the paint can adhere to. Skipping this step might result in your paint job chipping away faster than you can say “anchors aweigh”.
Why Consider Painting?
The thought of painting an anchor doesn’t come out of the blue. Most often, it’s to prevent rust and corrosion, and let’s face it, a freshly painted anchor gives a polished look to your vessel.
Understanding the Materials
Knowing your anchor’s material is crucial before you start slapping on layers of paint. Anchors are typically made of galvanized steel, stainless steel, or aluminum. The type of paint and primer you use depends greatly on the material.
Preparing to Paint: Not Your Average DIY
Once it’s all cleaned up, take a step back. Seriously. Give it a good once-over. If you see any deep pits or rust that couldn’t be scrubbed away, you might want to get a rust converter. This little miracle will stop rust in its tracks and prep the surface for painting.
- Clean it up: Start by giving the anchor a thorough cleaning to remove any dirt, grime, and old paint. A stiff wire brush will do the job nicely.
- Inspect and treat rust: Look over the anchor for any signs of rust. If you spot any, use a rust converter to stop the corrosion in its tracks.
- Sand it down: Grab some medium-grit sandpaper and sand the entire surface of the anchor. This roughens up the surface and gives the paint something to hold on to.
- Wipe it off: Finally, wipe down the anchor with a damp cloth to remove any remaining dust or debris. Make sure the anchor is completely dry before you start painting.
Grab some medium-grit sandpaper. You’re going to sand down the entire anchor. I know, it sounds like a lot of work, but this is what will give your paint something to grip onto.
Wipe the anchor down with a damp cloth to remove any dust or debris left over from the sanding. Wait for the anchor to dry completely, and it’ll be ready for its makeover!
Removing the Rust
Before anything else, removing any existing rust or old paint is crucial. You’re not aiming for a Jackson Pollock masterpiece, right?
Sanding and Priming
For that smooth finish, sanding is essential. After that, a solid primer application ensures the paint adheres properly.
Picking the Right Paint: It’s Not Just About Color
What you’re looking for is marine-grade paint. That’s non-negotiable. This type of paint is specifically designed to withstand the harsh conditions at sea. It’s like the superhero of paints – tough against rust, corrosion, and UV rays, but still looks fabulous.
Exact type of marine-grade paint can vary. There’s enamel, which dries hard and is excellent for preventing rust. It’s a bit like wearing armor. On the other hand, there’s polyurethane paint, which is super durable and gives a high-gloss finish, kind of like putting on a shiny suit of armor.
Color is totally up to you! If you want your anchor to be classic and understated, go for black or grey. If you’re feeling bold, why not a vibrant red or even a sunny yellow? It’s your anchor, your call.
Consider the Environment
Your anchor spends most of its life submerged in water. Depending on the type of water (saltwater or freshwater), you’ll need to choose your paint wisely.
The Right Type of Paint
Oil-based paints, marine paints, or enamel paints are typically used for painting anchors. It’s not just about picking your favorite shade of blue.
Applying the Paint: Patience is Key
Grab a good quality paintbrush, or if you’re feeling adventurous, a spray gun can give you a super smooth finish. Just like how using a decent baking spatula can change the game when icing your cake.
Make sure you’re painting in a well-ventilated area. You don’t want to end up in a coughing fit halfway through. Safety first, always.
Start by applying the primer. This will help the paint stick better and last longer, kind of like a base coat for your nail polish. Allow it to dry fully. Patience is key here.
Apply the first coat of your chosen paint. Start at the top and work your way down, just like how you’d ice a cake. This will prevent the paint from dripping onto the dry sections. Aim for thin, even coats. You can always add more, but taking off excess can be a pain.
Thin, Multiple Coats
A common mistake is slapping on a thick coat of paint. Remember, thin coats are the way to go, and yes, more than one.
Proper Drying Time
Let each coat dry properly before applying the next. And, once you’re done, let the paint cure for a couple of days before your anchor hits the water.
Long-term Maintenance: It’s Not a ‘Paint and Forget’ Deal
Painting your anchor isn’t a one-time deal. For it to last and stay looking sharp, regular maintenance is required.
Regular Checks
Regularly checking your anchor for signs of paint wear, chips, or rust spots will help keep it in tip-top shape.
Touch-ups
Got a chip or scratch? Touch it up sooner rather than later to prevent any long-term damage.
Extra Tip
Save a bit of your anchor paint in a small container for any necessary touch-ups down the line. It’ll save you from trying to match the color later.
A Common Mistake: Overlooking Safety Measures
Avoiding common mistakes while painting your boat anchor can be a real life-saver — and trust me, they’re easier to make than you might think. So here’s the lowdown:
- Rushing the process: Remember that Rome wasn’t built in a day, and your anchor won’t be painted in one either. Don’t try to rush the drying time between the primer and paint coats — that’s like trying to ice a cake before it’s cooled down. Not gonna work, buddy.
- Skipping the primer: Speaking of primer, skipping it is like trying to build a house without a foundation. Sure, it might stand for a while, but we all know what’s coming. Using a primer ensures the paint sticks properly and lasts longer.
- Not prepping the anchor: It’s not just about slapping on some paint, there’s a whole pre-paint party happening. Cleaning, sanding, and removing old paint or rust is crucial. It’s like trying to put a Band-Aid on a dirty wound. Gross, right?
- Using the wrong paint: Not all paints are created equal. Using a non-marine grade paint for your anchor is like using watercolors to paint your house. It won’t last. Make sure you’re using a paint designed to withstand the harsh marine environment.
- Painting in poor conditions: Windy, too hot, too cold, or high humidity conditions can impact how the paint dries and adheres. It’s kind of like trying to sunbathe in a snowstorm. Not ideal.
One thing that is often overlooked while working on projects like this is safety. Painting an anchor isn’t like painting a canvas. You’re dealing with heavy metal and potentially toxic materials.
Safety First
Don’t be cavalier about safety measures. From proper protective gear (eye protection, gloves, and clothes you don’t mind getting a bit ruined) to ensuring a well-ventilated workspace — it all matters.
Disposing of Materials
Remember, being good to the environment is part of being a responsible boat owner. Be mindful of how you dispose of any used paint, rust scrapings, and other materials.

Help! I’m Not the DIY Type
Now, if all this talk about sanding, priming, and painting is making your head spin, no worries. Not all of us were born with a paintbrush in our hands.
Professional Help is Available
If DIY isn’t your cup of tea, you can always hire professionals. Yes, they do exist, and they can ensure your anchor is as glossy and corrosion-resistant as you’d like it to be.
The Cost Factor
While it’s not necessarily the cheapest option, hiring a pro might be a worthwhile investment in the long run. Especially when you consider the time, effort, and potential mishaps if you’re not confident in your painting skills.
Wrapping it Up: Paint and Pride
Painting your boat anchor isn’t just about making it look good (though that’s a sweet bonus). It’s about preserving its lifespan, ensuring it functions correctly, and maintaining overall boat safety.
Boat Pride
There’s a certain sense of pride that comes with knowing you’ve taken every step to keep your boat and all its components in the best possible condition. Plus, let’s be real, a freshly painted anchor does look pretty snazzy.
Functional and Fancy
So next time you gaze at your boat, imagine how fetching it would look with a freshly painted, rust-free anchor. Functional and fancy — now that’s a win-win situation!
Don’t forget — the sea might be calling, but make sure your anchor is up to scratch before you answer. And if that involves a fresh coat of paint, then grab that brush and make a splash!
FAQs
What type of paint should I use for my boat anchor?
It’s best to use a marine-grade paint that can withstand harsh saltwater and freshwater conditions. Epoxy paints are a popular choice due to their durability and resistance to chipping.
How many coats of paint do I need to apply on my anchor?
That depends on the paint and primer you’re using, but generally, a primer coat followed by at least two coats of paint should do the trick. Remember to allow adequate drying time between each coat.
Do I need to sand my anchor before painting?
Yes, sanding your anchor is crucial. It removes rust, old paint, and creates a rough surface for the new paint to adhere to, ensuring a smoother and more durable finish.
Conclusion
With proper preparation, the right materials, and a bit of patience, you can have your anchor looking shipshape in no time. It’s not just about curb appeal; it’s about maintaining the lifespan of your anchor. Happy painting!
There you go! The age-old question, “Can you paint a boat anchor?” officially demystified. Always remember to treat your anchor with as much love and care as the rest of your boat. After all, your anchor is what keeps you grounded. Well, at least, in the water!